Getting Started
Geoproxies is very easy to use. The Geoproxies API is designed to work with any proxy-enabled web client. To control Geoproxies (for example, to pick a country-specific IP address or enable session recording), all you need to do is pass a specific string as your proxy password.
Without any parameters, using Geoproxies is as simple as this curl command:
curl --proxy "http://24f2f5b3-1867-42ac-994c-57140022fb46@proxy.geoproxies.com:1080" \
http://httpbin.org/anything
Sign up for a free account
To use Geoproxies, you need to signup on https://www.geoproxies.com. Geoproxies is a paid service that offers large, high quality pools of IP addresses. We also offer free access to a number of URLs so you can develop and test your programs without paying. All examples in this tutorials can be followed with a free account.
Free target urls includes;
You can authenticate using one of two methods: HTTP basic authentication and an IP address whitelist.
Authentifying with the proxy server
1. HTTP Basic Authentication
With HTTP basic authentication, your web client sends credentials to the proxy as part of HTTP requests. This is the method that we recommend because it enables more features in Geoproxies than IP address-based authentication does.
When you use HTTP basic authentication with Geoproxies, your credentials only take the form of a long token that you pass as the username. The password field is reserved the purpose or passing parameters to the proxy server, which we explain below. First, you need to retrieve your token.
You need to be logged in to your Geoproxies account on https://www.geoproxies.com, and navigate to the Proxy access section of the page. You will be shown a view similar to the one below. This view contains your proxy authentication and API tokens.

Suppose you got the authentication token 24f2f5b3-1867-42ac-994c-57140022fb46.
A curl request proxied through Geoproxies would look like this:
curl --proxy "http://24f2f5b3-1867-42ac-994c-57140022fb46@proxy.geoproxies.com:1080" \
http://httpbin.org/anything
Since curl lets you configure a proxy in URL format, we pass the credentials as part of the URL, just before the @ character, with username and password separated by a colon. As you can see, we need to pass the token in the username field to gain access.
This leaves the password field, which lets us give special instructions to Geoproxies.
For example, if you want Geoproxies to record the traffic
between the proxy and the target server for debugging purposes, you should pass the wiretap parameter.
curl --proxy "http://24f2f5b3-1867-42ac-994c-57140022fb46:wiretap@proxy.geoproxies.com:1080" \
http://httpbin.org/anything
You can also pass multiple parameters. This command makes a request that goes through a German IP address:
curl --proxy "http://24f2f5b3-1867-42ac-994c-57140022fb46:wiretap|country=de@proxy.geoproxies.com:1080" \
http://httpbin.org/anything
Proxy credentials are passed to the proxy server in the Proxy-Authentication header. The value of this header is a string of the form
username:password, which is then base64-encoded and then prefixed with the string "Basic ". For example, the command above could be rewritten as
curl --proxy "http://proxy.geoproxies.com:1080" \
-H "Proxy-Authorization: Basic MjRmMmY1YjMtMTg2Ny00MmFjLTk5NGMtNTcxNDAwMjJmYjQ2OmNvdW50cnk9ZnJ8d2lyZXRhcD0x" \
http://httpbin.org/anything
Note
Geoproxies strips the Proxy-Authorization and Proxy-Connection headers before forwarding your requests to target servers. They are never transmitted to the sites you access. Everything else is left as-is.
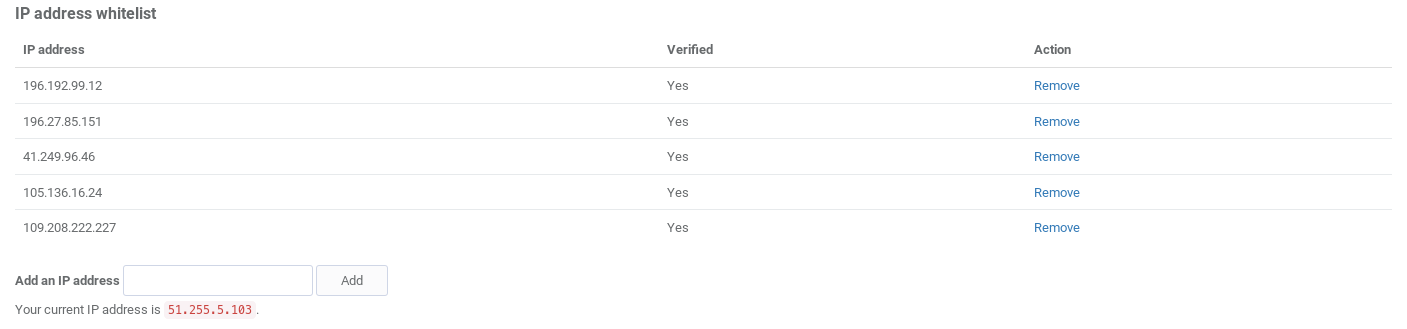
2. IP address whitelist
In some cases it’s inconvenient to pass credentials to a proxy server. For those cases, Geoproxies lets you define a list of IP addresses that are allowed to use your Geoproxies account.
To authorize an IP address, log in to https://www.geoproxies.com and navigate to the Proxy control section. Geoproxies allows a maximum of 10 IP addresses as whitelist.
Using sessions to keep IP addresses between requests
If you are making multiple requests to the same website, you may want successive requests to go through the same IP address.
Geoproxies provides three parameters for session managements: session,
sesionGroupId and fail0nDuplicateIp. Only the session parameter is required to initiate a session.
Its use is very simple: include session=XYZ in your parameters list and all requests that
share the same session ID (in this case, the string XYZ) will share the same IP address, to the extent
possible.
See also
For more on sessions, see Proxy Parameter Reference.
Standard versus residential IP addresses
Geoproxies lets you use two pools of IP addresses: standard and residential.
Here’s a comparison of both pools.
| Standard IPs | Residential IPs | |
|---|---|---|
| Hosting | Hosted in datacenters | Hosted by the home connections of real end users |
| Pool size | Hundreds of IPs | Millions of IPs |
| Geolocation | Yes | Yes |
| Anti-detection capability | Medium to high | Very high |
| Price | Economical | Premium |
To use residential IPs simple include the pool=residential parameter and pool=static for the Standard IPs. See for example below.
curl --proxy "http://24f2f5b3-1867-42ac-994c-57140022fb46:pool=residential@proxy.geoproxies.com:1080" \
http://httpbin.org/anything
See also
To learn more about pools, see IP Address Pools Reference.
Built-in ad blocker
Geoproxies lets you block domains that serve ads and analytics services or are otherwise known to be nefarious. Use the parameter
blockAds=1 to enable ad blocking.
Ad blocking works at the proxy level. Since requests to blocked domains are never sent to the target servers, you can save significantly on useless traffic.
With the blockAds=1 toggle, the proxy returns a 551 Domain block response when a URL suspected to be a tracker is identified.
Handling banned IP addresses
Geoproxies provides the functionality to exclude an IP or a set of IPs when serving a request. This feature is usable through the RPC APIs provided.
See API Reference for detailed information